|
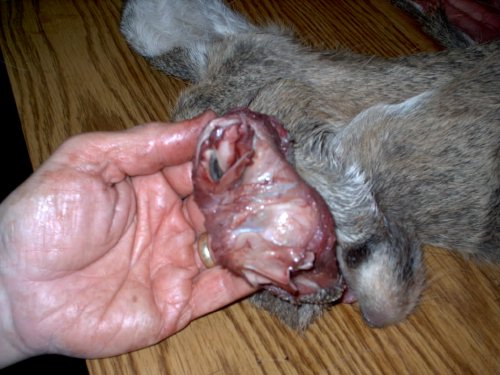
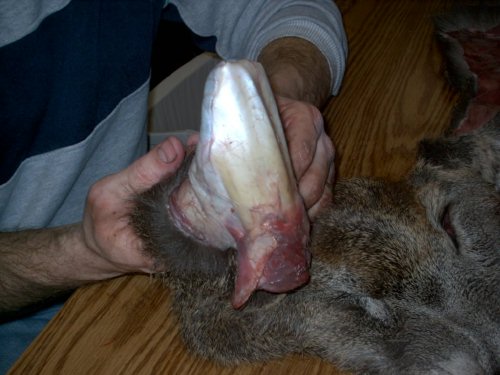
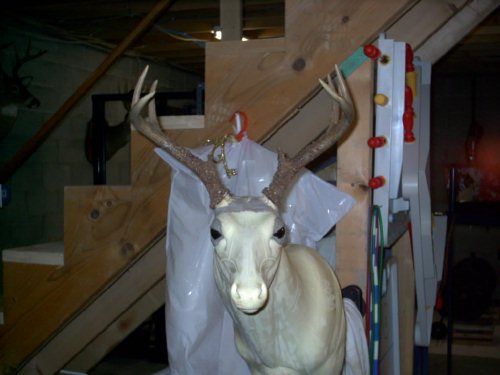
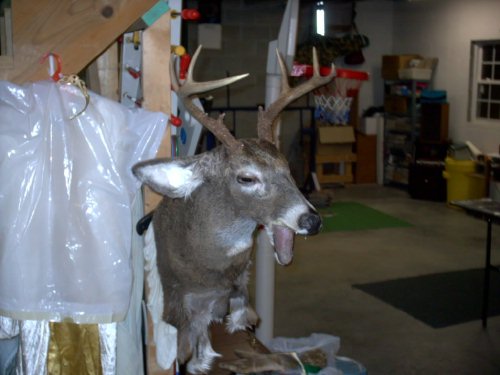
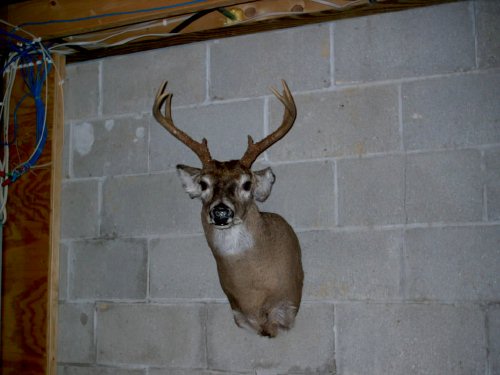
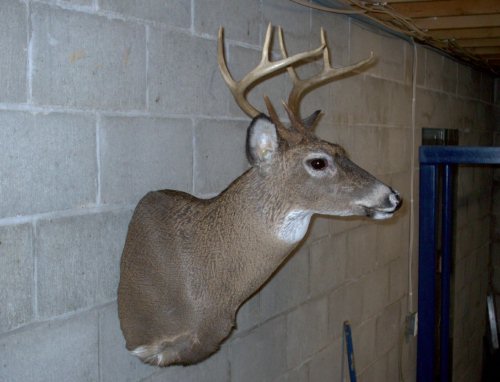
2005 Whitetail Taxidermy MountAfter much deliberation, we decided to use a set of antlers from a deer that I had shot back in 1990 with the hide from my father-in-laws buck. This would give me another whitetail taxidermy mount hanging in my basement that I had shot and would also give me the added challenge of fitting a cape to a different set of antlers. The challenges of this years taxidermy mount did not stop with the antler change. The buck had been shot through the rear, lower jaw. This, of course, put two holes in a real visible spot and would require me to sew them up. A car that wouldn't start on the evening that I was supposed to start working on the hide didn't help as well. The hide had been thawed and was ready for me to start fleshing it when I got home from work. After a quick supper I was ready to get to work when my wife found that the car wouldn't start. I did eventually get to start working on the hide, but not nearly as early as I had hoped. For this deer I had decided to use Ben Mears Spray Tan, a laid-back ear position and a semi-upright deer form. I had used the Spray Tan on the doe that I had done the year before and was pleased and I thought that the laid-back ears would be interesting to try. I also used Buckeye Hide Paste for the first time. Using different antlers did not cause me any problems at all. Had I not known they were not from this deer, I would not have known the difference when I put the hide around the bases and sewed it up. This is the first deer that I have done that I have not had drumming problems in the ears. I don't know if it was the Buckeye paste or just paying more attention to getting the earliners properly sized. The white color of the hide paste also made finishing the ears much easier. All of the previous deer taxidermy mounts that I had done were with a hide paste that had a baby poop color which made finishing the ears much more difficult for me. All in all, the laid-back ear position didn't turn out too bad. I do not have an airbrush and my artistic skills are lacking, so doing a lot of painting is not my strong point. You can see a cowlick on the front of the deer's neck. I don't know exactly what caused this. The deer may have just naturally had this cowlick or I may have stretched the skin too tight in this area, making the hair stand up. The incision in the back didn't seem much tighter than previous deer but I had to pull the front of the hide down. The front had been cut a little short and was cut vertically, too far up the neck and in several strips when the deer was skinned out. I had a difficult time trying to line up the brisket area while matching up all of the strips. This was the first time that I used the eye setting tool and it saved me a lot of time. Usually we spent a lot of time adjusting and looking at the eyes but this tool sped this process up a lot and I'm pleased with the eyes. In the end, for my fourth whitetail deer taxidermy mount, I'm satisfied. I give the professionals that do this for a living a lot of credit. Each time I do a deer head it always takes my fingers a few days to heal. The biggest kick I get out of mounting a deer is putting the skin on and watching the deer come back to life. The work is worth it in the end. The pictures below show some of the steps in the whitetail deer taxidermy mounting process as I worked and some comments as I progressed.
We have finally mounted Ryan's 8 point. It turned out pretty good after ordering the wrong size form at first. We ordered another form and Ryan helped me mount it.
Ryan's eight point mount. Copyright 2004-2005 extremedeer.com All Rights Reserved |
